Wednesday, September 7, 2011

Gone Banana's

    We haven't been eating our banana's as quickly as we usually do. Rather than having the over ripened banana's take up prime real estate in my freezer, I have been experimenting with a few different Banana Bread recipes. I recently came across this one, for Peanut Butter Candy Bar Banana Bread
   

Peanut Butter Candy Bar Banana Bread:
(From Pillsbury Hamburger: 2006 Edition)


Ingredients:

3/4 cup sugar
1/2 cup butter or margarine, softened
2 eggs
2 Tbsp. milk
2 tsp. vanilla
2 large bananas, mashed
2 cups flour
1 1/2 tsp. baking powder
1/2 tsp. baking soda
1/2 tsp. salt
10 Reese's Peanut Butter Cups, chopped

Directions:

(1) Heat oven to 350 degrees F (325 degrees for a dark pan). With cooking spray, lightly grease the bottom of a standard size loaf pan.
(2) In a large bowl with an electric mixer, beat sugar and butter on medium speed until creamy.
(3) Add eggs, milk, vanilla, and mashed bananas. Beat on medium speed until combined.
(4) Add all remaining ingredients except the chocolate bar. With a wooden spoon gently combine the chocolate (Reserve 2 Tbsp. for topping). Pour mixture into the loaf pan.


(5) Bake 60-70 minutes, or until a toothpick inserted into the center comes out clean. Cool inside the loaf pan for about 10 minutes. Remove from the pan, and let cool on a wore rack. Add the reserved chocolate to the top of the loaf, and let it melt with the existing heat from the bread.

Monday, September 5, 2011

Apple Cream Cheese Muffins

    Since apples are in season, I felt inspired to make these delicious Apple Cream Cheese Muffins. I found the recipe in one of those mini Pillsbury magazines you find in the grocery aisle five or six years ago. I think they're delish.
    They are a great way to use up any old or bruised apples you may have, and they freeze well so you don't have to worry about them going stale (Not that stale muffins are a huge concern in this house).

Apple Cream Cheese Muffins:


Photo from Pillsbury: Hamburger Edition 2006

Ingredients:


Muffins:
3/4 cup packed brown sugar (Reserve 1 Tbsp. in a separate bowl for the filling)
1 3/4 cups flour
1 tsp. baking powder
1/2 tsp. ground cinnamon
1/2 tsp. salt
2 eggs, beaten (Reserve 1 Tbsp. Add to the same bowl as the reserved brown sugar, for the filling)
2/3 cup vegetable oil
1/4 cup applesauce (I used my Homemade Apple Pie Filling. Just toss it in a food processor to purée and Voila)
1 tsp. vanilla
1 cup apple, peeled and shredded (about 1 lg. or 2 sm.)
1/3 cup cream cheese, softened

Streusel:

3 Tbsp. packed brown sugar
2 Tbsp. flour
1 Tbsp. butter or margarine, softened

Directions:
(1) Heat oven to 350 degrees F. Prepare a muffin tray, by spraying with cooking spray or lining with muffin cups.
(2) In a large mixing bowl, combine all but 1 Tbsp. of the brown sugar, flour, baking powder, cinnamon and salt.

(3) Add the oil, applesauce, vanilla, and remaining egg to the flour mixture.
Beat on medium speed until combined. Stir in the shredded apple.


(4) Add the reserved 1 Tbsp. of brown sugar and 1 Tbsp. of egg to a food processor. Add the cream cheese. Pulse to combine.


(5) Fill the muffin tray less than half full with the apple cinnamon batter. Top each with 1 tsp. of the cream cheese mixture. Top each with a spoonful of the remaining batter to fill the cups 2/3rds full.


Make a small well inside the batter
to hold the cream cheese mixture.


Add the cream cheese mixture.


Top with the remaining batter.
(6) In a small bowl, mix all the streusel ingredients; sprinkle over batter.


(7) Bake 22-26 minutes, or until a toothpick inserted into the center comes out clean. Remove from pan. Cool slightly, about 10 minutes.


*Recipe yields 12 muffins.

You may also like:

Sunday, September 4, 2011

3rd Book Club Selection: Mockingjay, by Suzanne Collins

    Mockingjay is the third and final installment of The Hunger Games Trilogy, by Suzanne Collins and is my 3rd book club selection. I have been reading my way through the series, and find myself really enjoying these novels. In case you're just joining in and need to catch up, the summaries for the previous two novels are attached to the links I have posted below.
    Mockingjay continues the story of Katniss Everdeen, who agrees to lead a rebellion against the rulers of the futuristic society of Panem.
    Against all odds, Katniss has survived the Hunger Games twice. But now that she's made it out of the bloody arena alive, she's still not safe. The Capitol is angry, and wants revenge. The Capitol believes she needs to pay for the unrest of the population in Panem. President Snow has made it clear that no one else is safe either. Not Katniss's family, not her friends and not the people of District 12. This thrilling final installment of Suzanne Collins's The Hunger Games Trilogy promises to be one of the most talked about books of the year.


    As a whole,  I found the Hunger Games Trilogy to be a quick, easy read, that kept me wanting more until the very end. The books were very well written and the plot was very original. If you are interested in reading these, I say it's definitely worth your time.

You may also like:
The Hunger Games, by Suzanne Collins (1st Book Club Selection)
Catching Fire, by Suzanne Collins (2nd Book Club Selection)


Friday, September 2, 2011

Traditional Newfoundland Fare: Part III

    You cannot speak of Traditional Newfoundland Fare without including my personal favourite, Pease Soup with Salt Beef and Steamed Dumplings.
    I always wondered why whenever I read the word "pea's" in it's singular form, it was spelled "pease". I just figured it to be colloquial, but I wasn't sure so I checked it out.
    For those of you who don't already know, "pease" is the archaic singular form of the word "pea". I found this to be a little odd. Evidently, the word "pea" began as an incorrect back formation, and it just stuck.
    I also discovered that Pea Soup, as well as Pease Pudding (another Traditional Newfoundland Dish), originated due to the fact that pea's were high-protein low-cost staples in sailor's diets. The dishes were easy to make and the pea's were easily stored for extended time periods aboard their vessels. Although pease were eventually replaced with potatoes aboard the fishing vessels during the nineteenth century, the food still remains popular in the homes of Newfoundlander's today.


Pease Soup with Salt Beef and Steamed Dumplings (Doughboys):


Ingredients:
2 cups of yellow split peas
1 onion, chopped
1/2 cup celery, diced
1/2 cup carrots, diced
1/2 cup potato, diced
1 lb. salt beef (ham bone with meat attached makes a great substitute, but doesn't need to be soaked overnight)

Directions:
(1) In separate bowls, soak the salt beef (to remove excess salt) and peas overnight in water. You will need to soak the peas in a about 5 cups of water or so. They absorb quite a bit of water.


(2) Once ready to make the soup, drain off the water. Add the salt beef (first trimming off as much fat as possible, and cutting into small cubes), yellow split peas, and 8 cups of water to a large heavy bottomed pot. Bring to a boil, and lower heat to medium. Simmer gently for 3 hours, stirring occasionally.
(3) About 20 minutes before serving, add the vegetables. If at this point the soup seems to thick, add additional water to thin it out. Return to a gentle boil.

Steamed Dumplings (Doughboys):


Ingredients:
1 1/2 cups flour
1/4 cup butter
3 tsp. baking powder
1 tsp. salt
1/2-3/4 cup of milk and water combined (Start with a 1/2 cup, and add more if the mixture is too dry)

Directions:
(1) Sift together the flour, baking powder and salt.
(2) Cut the butter into the flour mixture using a pastry cutter (a butter knife will also work well). The flour and butter should appear crumbly.
(3) Add the milk and water mixture. Stir to combine using a wooden spoon. The mixture should appear light and fluffy, and pull away from the edges of the bowl creating a ball.
(4) Drop the dough mixture by teaspoonful's into the soup.


(5) Cover the pot tightly, and cook for 15 minutes without removing the lid.


(6) Once the 15 minutes have passed, remove the lid. Using a slotted spoon, transfer the Dumplings to a large bowl.
(7) Stir the soup, and ladle it into serving dishes.

(8) Top with a Steamed Dumpling.


You may also like:
Salt Codfish Cakes (Traditional Newfoundland Dish)
Fish and Brewis (Traditional Newfoundland Dish)

Thursday, September 1, 2011

Homemade Apple Pie Filling

    I was at the local Farmer's Market this past Saturday, and found some of the most delicious looking baking apples. This year, unlike the past two years, I don't have the priveledge of raiding the apples from my parents apple tree. So I decided to pick up a bushell. After all, I was running low on my stock of "Ready Made Apple Pie Filling".
    I have been making this Apple Pie Filling for the past three years or so. I use it in Homemade Apple Cobbler, Apple Pie, Apple Cinnamon Pancakes and 
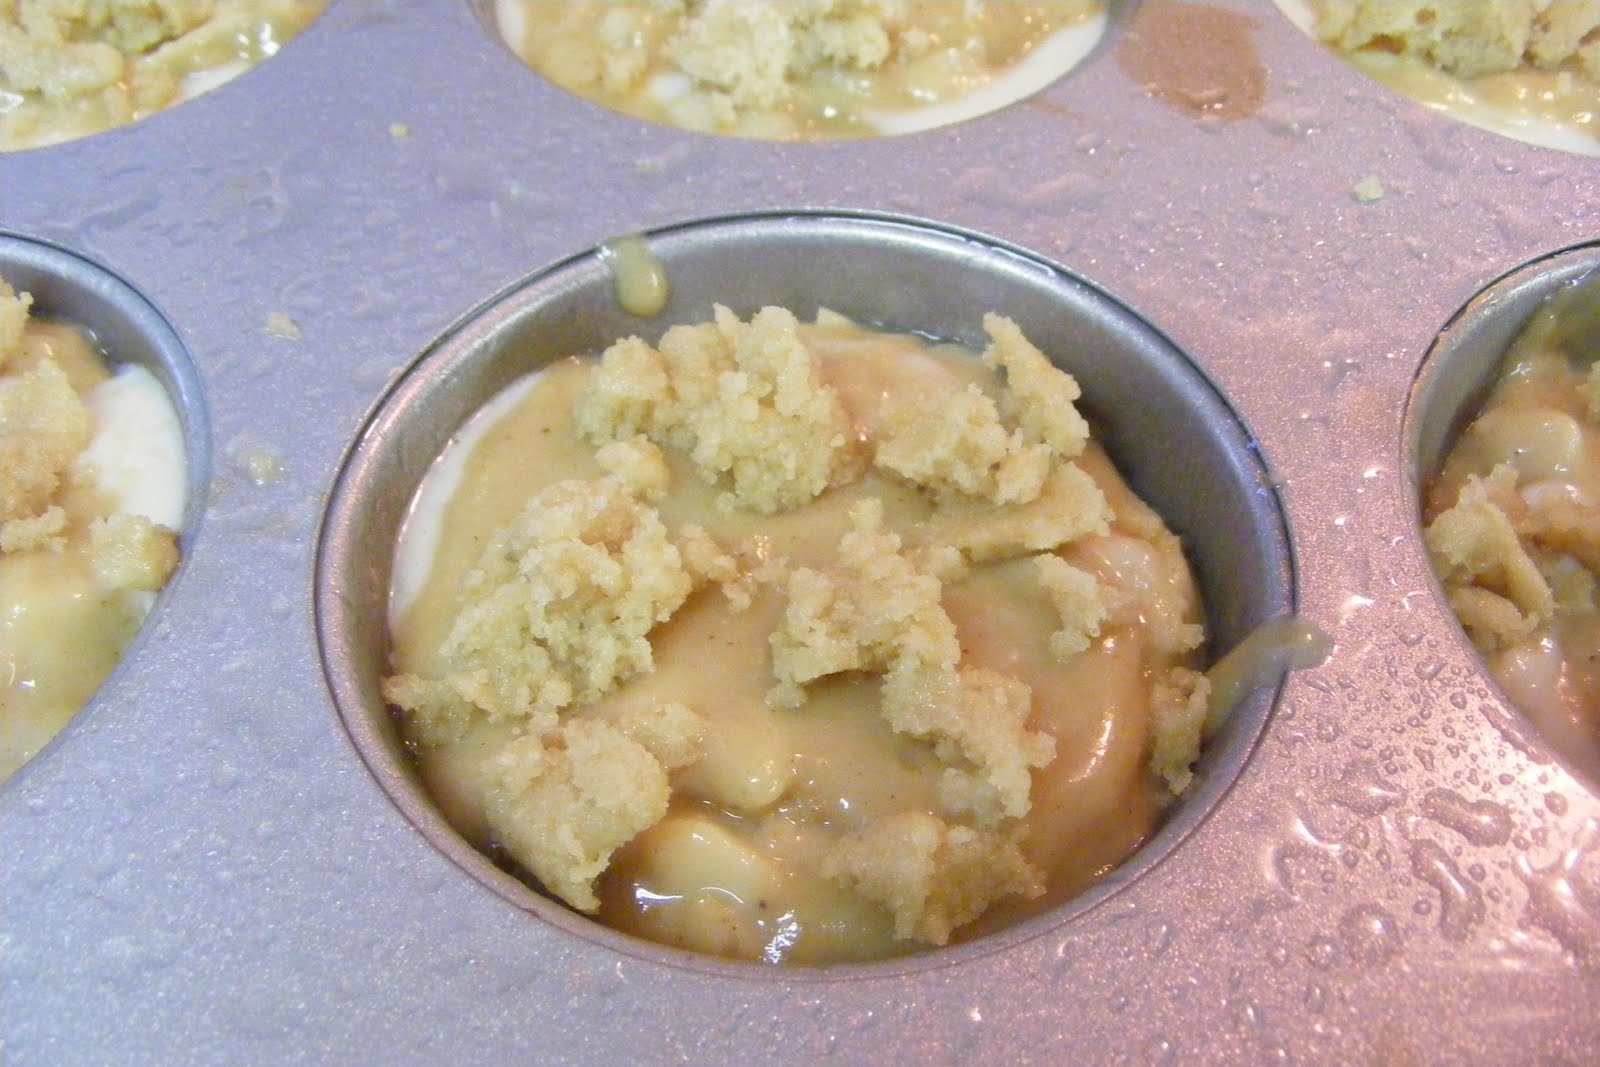
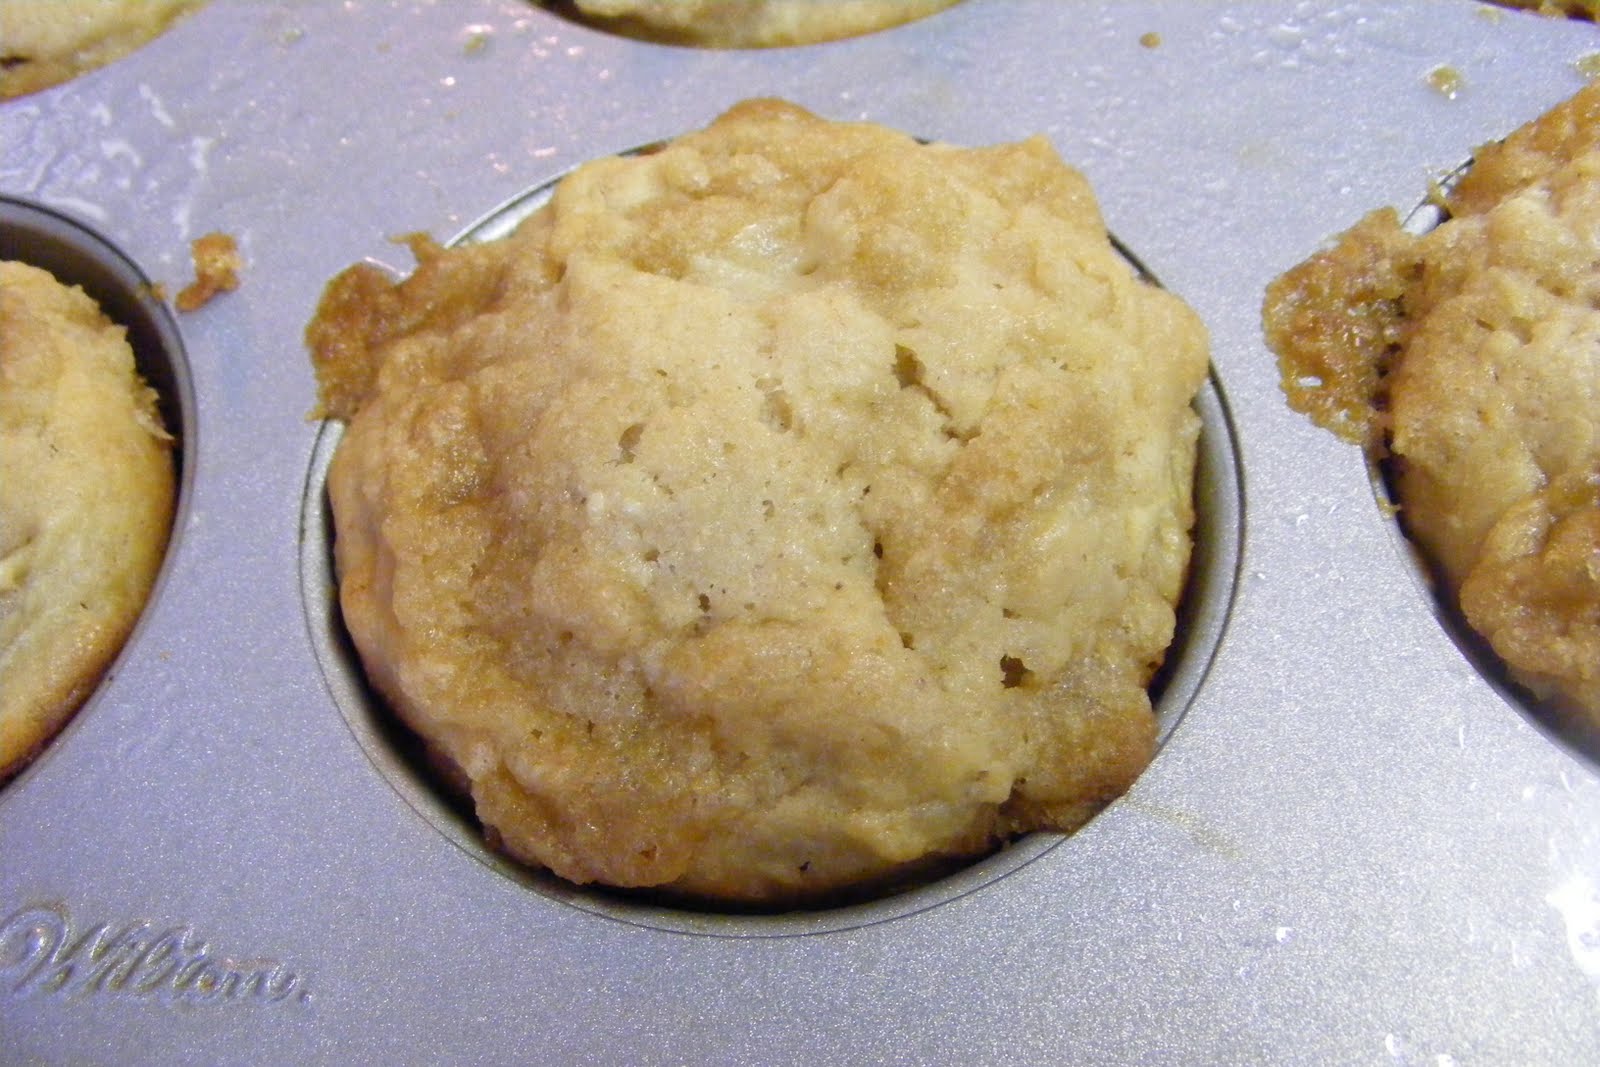
Apple & Cream Cheese Muffins to name a few.
    The instructions seem lengthy, but I listed all the steps in detail in case there are any of you who may be novice to canning and preserving. Once you get the hang of it, it becomes quite easy.
    This particular recipe should "Pickle" for about twelve weeks before use. This time period will give the apples time to absorb the flavors.
   
Apple Pie Filling:
(From the Bernardin Complete Book of Home Preserving)


Ingredients:
12 cups tart cooking apples, such as Golden Delicious or Granny Smith (peeled, cored, sliced and treated to prevent browning)
    *To prevent oxidation (the apples from turning brown), combine 1/4 cup of lemon juice and 4 cups of water. Pour this mixture over the apples.
2 3/4 cups sugar
3/4 cups ClearJel
    *ClearJel is a cooking starch that is acceptable for use in home canning. Not all cooking starches are suitable for home canning, as reheating causes some to lose viscosity. Making mixtures to thick can interfere with required heat penetration during heat processing.
1 1/2 tsp. ground cinnamon
1/2 tsp. nutmeg
1 1/2 cups cold water
2 1/2 cups unsweetened apple juice
1/2 cup lemon juice

(1) Prepare canner jars and lids;
      *This recipe requires 7 pint (500ml) jars.

    a. Clean the jars and closures: Wash jars, lids and screw bands in hot soapy water. Rinse well and drain. You don't need to dry them. (If using jars from previous canning projects, carefully examine jars.  Discard any jars that have any nicks, cracks, uneven rim surfaces or other damage or defects).
    b. Heat the jars: Place a rack on the bottom of a boiling water canner/ super large pot, then place the required number of mason jars on the rack.(If you don't have a canning rack, create your own. Tie several screw bands together with a string or use a small round cake rack in the bottom of a large covered Dutch oven). When using 8oz (250ml) or smaller jars, add water to the jars and the canner until it reaches the top of the jars. Be sure the pan is high enough for 2 inches (5 cm) of water to cover the jars when they are sitting on the rack. For pint (500ml) and larger jars, add water to the jars and canner until two-thirds full. Cover the canner and bring the water to a simmer over medium high heat. Keep the jars hot until you're ready to use them.
    c. Prepare the closures: Place the screw bands and lids in a small sauce pan, cover with water and bring to a simmer over medium heat. Keep the bands and lids hot until you're ready to use them.

(2) Prepare the recipe: In a large stainless steel saucepan, combine sugar, ClearJel, cinnamon, nutmeg, water and apple juice. /bring to a boil over medium high heat, stirring constantly, and cook until mixture thickens and begins to bubble. Add the lemon juice and return to a boil. Remove from heat.
    Drain the apple slices from the water/ lemon juice mixture and immediately fold into the hot mixture. Heat the apples in the mixture through, by stirring the apples around in the mixture for another 2-3 minutes.


Apple Cinnamon flavored hot liquid.

Peeled, cored, sliced and treated apples.
(3) Fill the Jars:
    a. Working with one jar at a time, remove a jar from the canner, pouring hot water back into canner. Place the jar on a heat protected work surface, such as a wooden cutting board, a towel, or heat proof tray.

   
    b. Place a wide mouthed funnel into the opening of the jar.
    c. Begin to ladle the hot pie filling into the hot jar, leaving 1 inch of head space. Remove air bubbles and adjust head space (the space between the top of the jar, and the top of the food), if necessary, by adding or removing filling.


    d. Slide a non-metallic utensil, such as a rubber spatula, down between the food and the inside of the jar two or three times to remove the air bubbles. Failure to remove the air bubbles can cause seal failure, and will influence the color and storage quality of the product.
    e. With a clean, damp cloth or paper towel, wipe the rim and threads of the jar. Particles of food  that remain on the rim of the jar can prevent formation of a seal.
    f.  Remove a band and a lid from the hot water. Place a screw band on the jar. With your fingers, screw band down until resistance is met, then increase to finger-tip tight. Over tightening of screw bands can prevent jars from venting and can lead to seal failure.


    g. Return jar to the rack in the hot water filled canner. Repeat filling steps until all jars are full.

(4) Heat process the filled Jars: When all of the jars are back in the canner, adjust the water level in the canner so that it covers the jars by at least 1 inch. Cover the canner with a lid and bring the water to a full rolling boil over high heat. Once the water is boiling hard and continuously, process the jars for 25 minutes.

Returning the jar to the water bath.

(5) Cool the Jars: At the end of the processing time, turn the heat off and remove the canner lid. Turn off the heat. Remove the jars, and place back on the heat protected surface. Let cool and store in a cool, dark place.