I was at the local Farmer's Market this past Saturday, and found some of the most delicious looking baking apples. This year, unlike the past two years, I don't have the priveledge of raiding the apples from my parents apple tree. So I decided to pick up a bushell. After all, I was running low on my stock of "Ready Made
Apple Pie Filling".
I have been making this
Apple Pie Filling for the past three years or so. I use it in Homemade Apple Cobbler, Apple Pie,
Apple Cinnamon Pancakes and
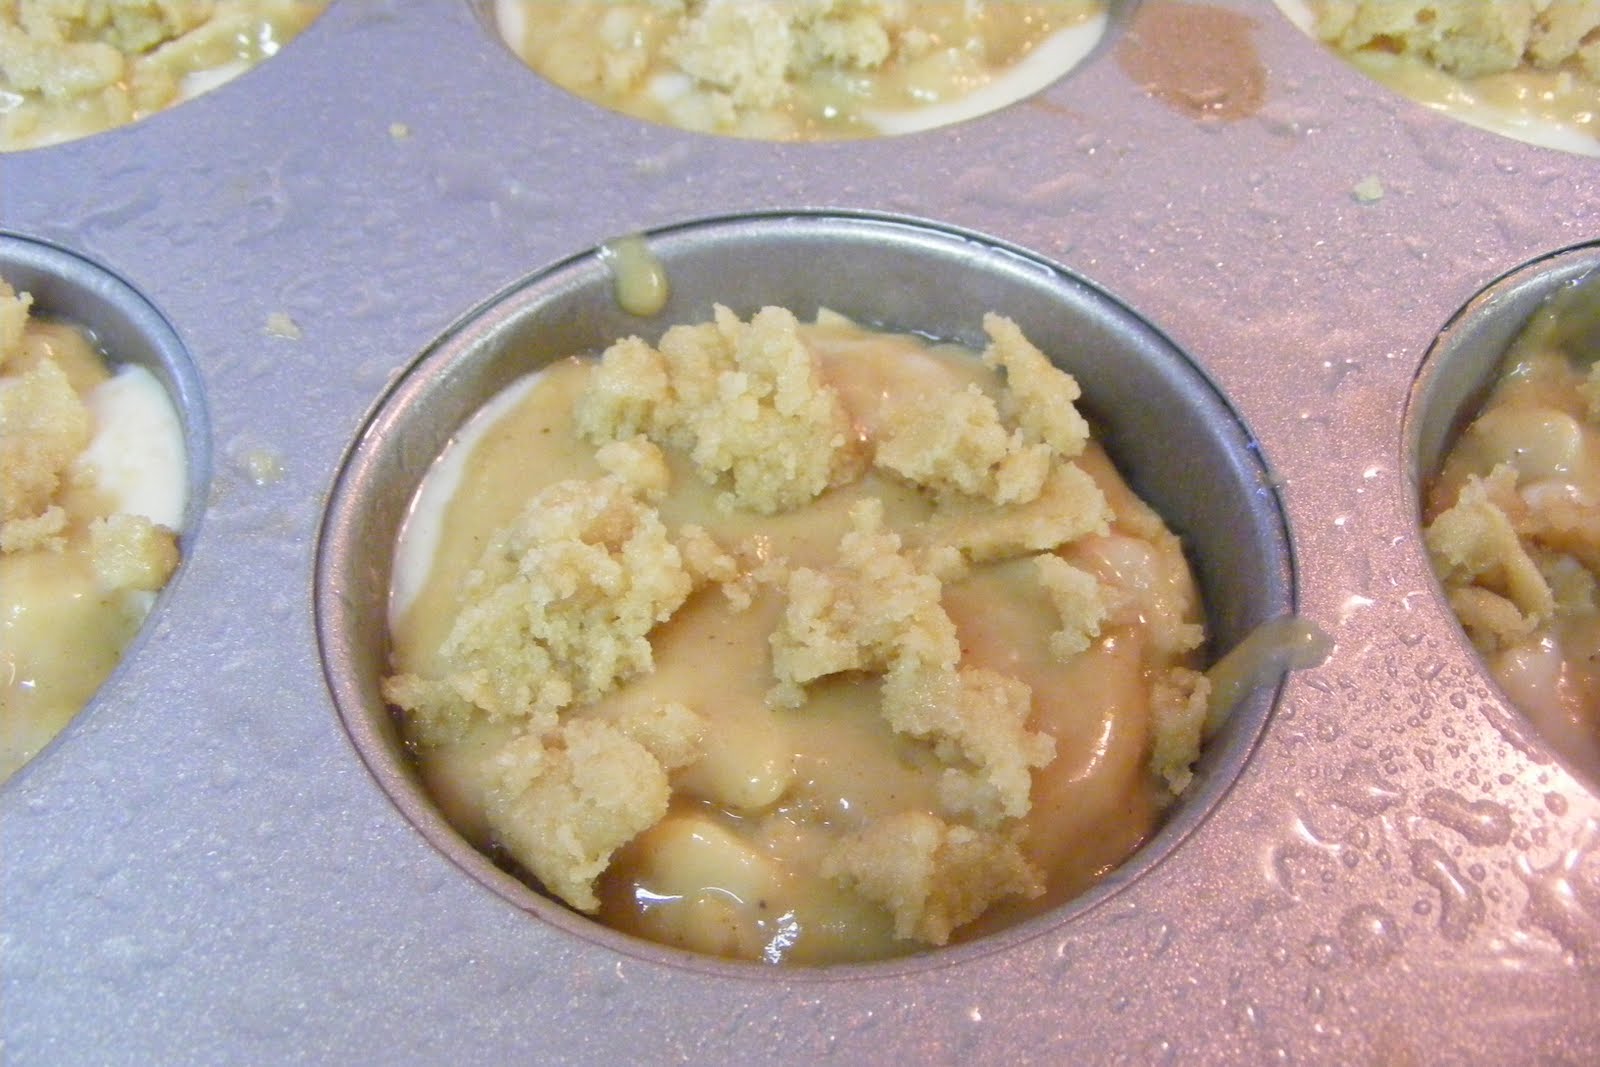
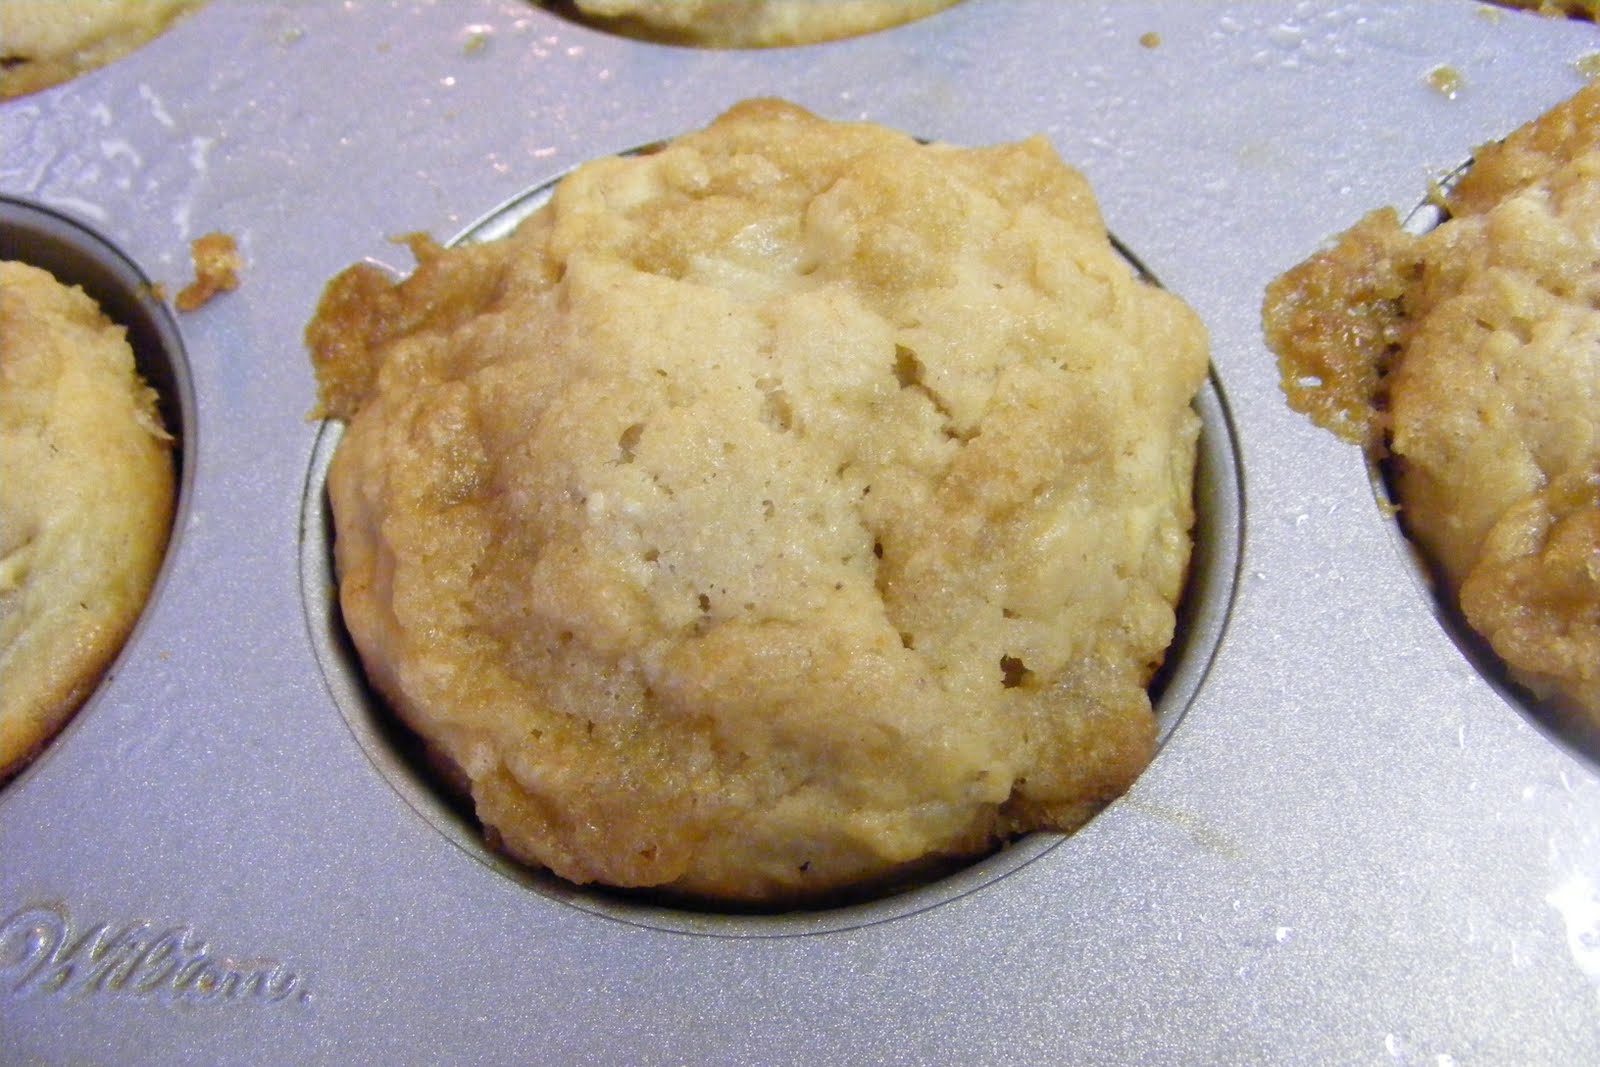
Apple & Cream Cheese Muffins to name a few.
The instructions seem lengthy, but I listed all the steps in detail in case there are any of you who may be novice to canning and preserving. Once you get the hang of it, it becomes quite easy.
This particular recipe should "Pickle" for about twelve weeks before use. This time period will give the apples time to absorb the flavors.
Apple Pie Filling:
(From the Bernardin Complete Book of Home Preserving)
Ingredients:
12 cups tart cooking apples, such as Golden Delicious or Granny Smith (peeled, cored, sliced and treated to prevent browning)
*To prevent oxidation (the apples from turning brown), combine 1/4 cup of lemon juice and 4 cups of water. Pour this mixture over the apples.
2 3/4 cups sugar
3/4 cups ClearJel
*
ClearJel is a cooking starch that is acceptable for use in home canning. Not all cooking starches are suitable for home canning, as reheating causes some to lose viscosity. Making mixtures to thick can interfere with required heat penetration during heat processing.
1 1/2 tsp. ground cinnamon
1/2 tsp. nutmeg
1 1/2 cups cold water
2 1/2 cups unsweetened apple juice
1/2 cup lemon juice
(1)
Prepare canner jars and lids;
*This recipe requires 7 pint (500ml) jars.
a. Clean the jars and closures: Wash jars, lids and screw bands in hot soapy water. Rinse well and drain. You don't need to dry them. (
If using jars from previous canning projects, carefully examine jars. Discard any jars that have any nicks, cracks, uneven rim surfaces or other damage or defects).
b. Heat the jars: Place a rack on the bottom of a boiling water canner/ super large pot, then place the required number of mason jars on the rack.(
If you don't have a canning rack, create your own. Tie several screw bands together with a string or use a small round cake rack in the bottom of a large covered Dutch oven). When using 8oz (250ml) or smaller jars, add water to the jars and the canner until it reaches the top of the jars. Be sure the pan is high enough for 2 inches (5 cm) of water to cover the jars when they are sitting on the rack. For pint (500ml) and larger jars, add water to the jars and canner until two-thirds full. Cover the canner and bring the water to a simmer over medium high heat. Keep the jars hot until you're ready to use them.
c. Prepare the closures: Place the screw bands and lids in a small sauce pan, cover with water and bring to a simmer over medium heat. Keep the bands and lids hot until you're ready to use them.
(2)
Prepare the recipe: In a large stainless steel saucepan, combine sugar, ClearJel, cinnamon, nutmeg, water and apple juice. /bring to a boil over medium high heat, stirring constantly, and cook until mixture thickens and begins to bubble. Add the lemon juice and return to a boil. Remove from heat.
Drain the apple slices from the water/ lemon juice mixture and immediately fold into the hot mixture. Heat the apples in the mixture through, by stirring the apples around in the mixture for another 2-3 minutes.
 |
| Apple Cinnamon flavored hot liquid. |
 |
| Peeled, cored, sliced and treated apples. |
(3)
Fill the Jars:
a. Working with
one jar at a time, remove a jar from the canner, pouring hot water back into canner. Place the jar on a heat protected work surface, such as a wooden cutting board, a towel, or heat proof tray.
b. Place a wide mouthed funnel into the opening of the jar.
c. Begin to ladle the hot pie filling into the hot jar, leaving 1 inch of head space. Remove air bubbles and adjust head space (
the space between the top of the jar, and the top of the food), if necessary, by adding or removing filling.
d. Slide a non-metallic utensil, such as a rubber spatula, down between the food and the inside of the jar two or three times to remove the air bubbles. Failure to remove the air bubbles can cause seal failure, and will influence the color and storage quality of the product.
e. With a clean, damp cloth or paper towel, wipe the rim and threads of the jar. Particles of food that remain on the rim of the jar can prevent formation of a seal.
f. Remove a band and a lid from the hot water. Place a screw band on the jar. With your fingers, screw band down until resistance is met, then increase to finger-tip tight. Over tightening of screw bands can prevent jars from venting and can lead to seal failure.
g. Return jar to the rack in the hot water filled canner. Repeat filling steps until all jars are full.
(4)
Heat process the filled Jars: When all of the jars are back in the canner, adjust the water level in the canner so that it covers the jars by at least 1 inch. Cover the canner with a lid and bring the water to a full rolling boil over high heat. Once the water is boiling hard and continuously, process the jars for 25 minutes.
 |
| Returning the jar to the water bath. |
(5)
Cool the Jars: At the end of the processing time, turn the heat off and remove the canner lid. Turn off the heat. Remove the jars, and place back on the heat protected surface. Let cool and store in a cool, dark place.