Showing posts with label Lactose Free. Show all posts

Sunday, March 27, 2011

Tomato, Tomahto (Parte Terzo)

    I just couldn't take any more tomatoes. So out of the mountain of tomatoes that I still had left, I made Pizza Sauce. Thank Heaven's. They're all gone... Now on to the mango's.....lol. Oh my, sigh.
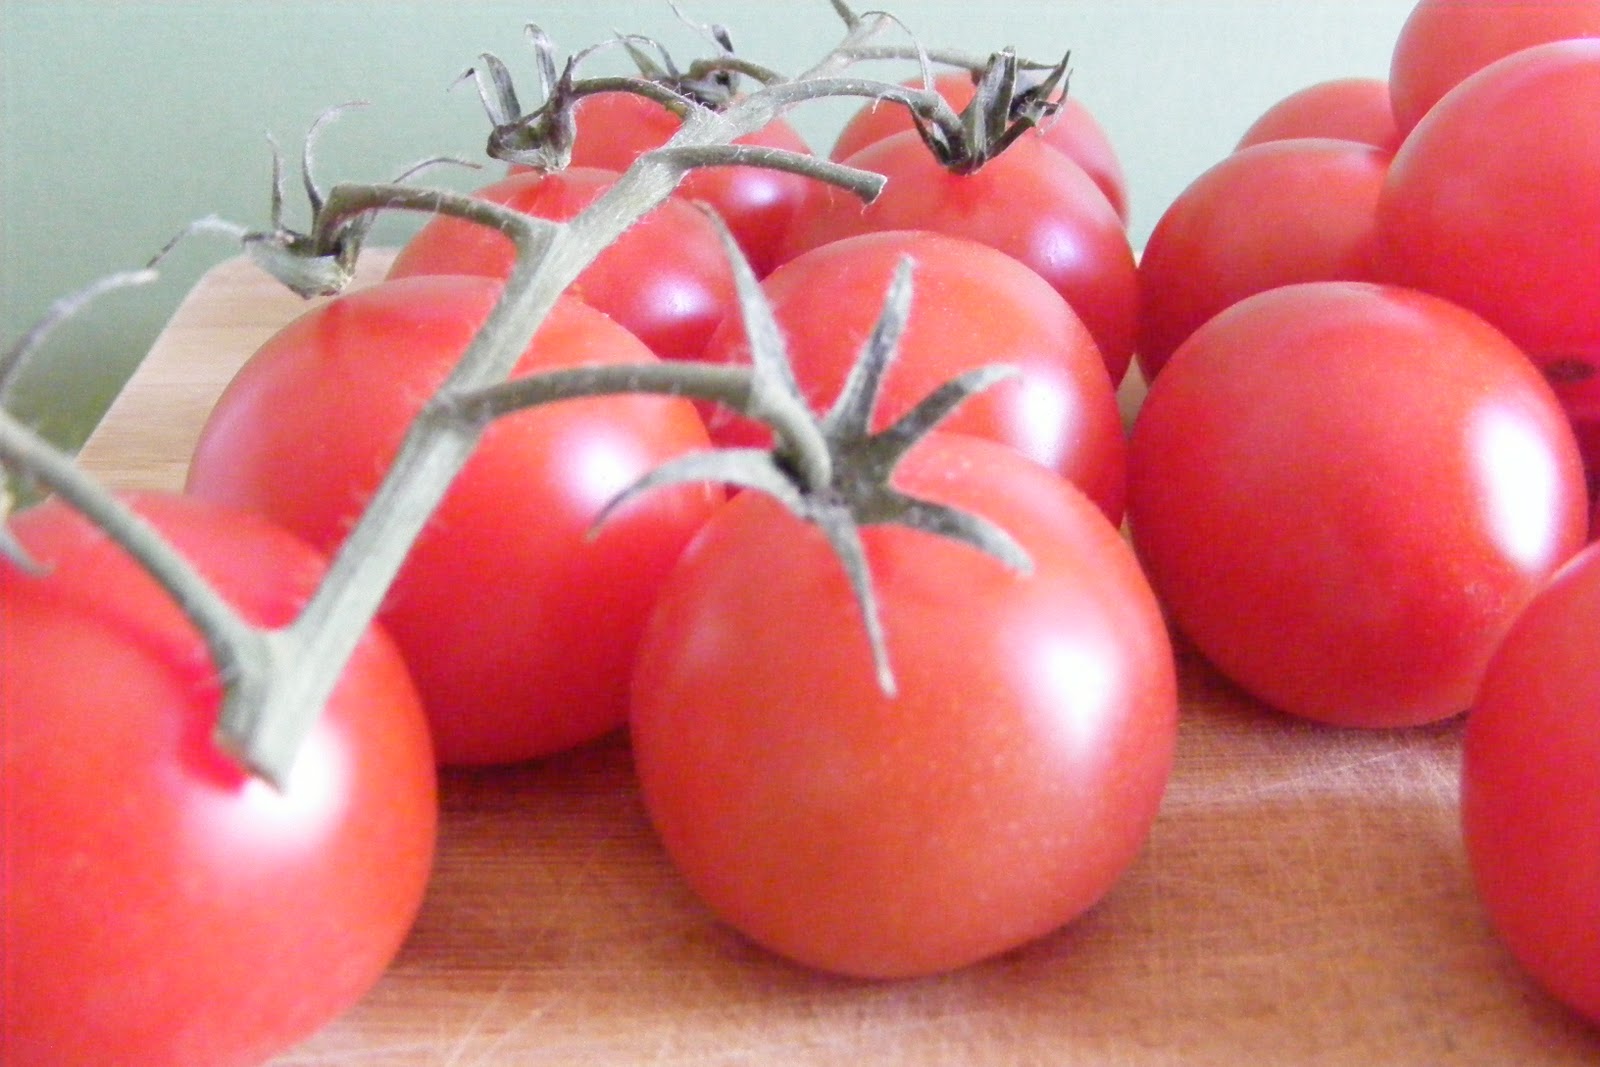
    When I got the idea for the pizza sauce, I was trying to find a way to use the tomato's so that they wouldn't be the main focus on the plate. I just couldn't eat another tomato. So the first thought I had was a sauce of some sort. I also knew if  I made a sauce, by the end of the day all my tomatoes would be gone, and I would be able to move on to something new. Tomato sauce for pasta would have been my first thought, had there not been about 15 jars already in my pantry. This past fall I spent about a month canning anything and everything I could get my hands on. Pasta sauce was one of the things I made an abundance of. But in any case, pizza sauce it was.
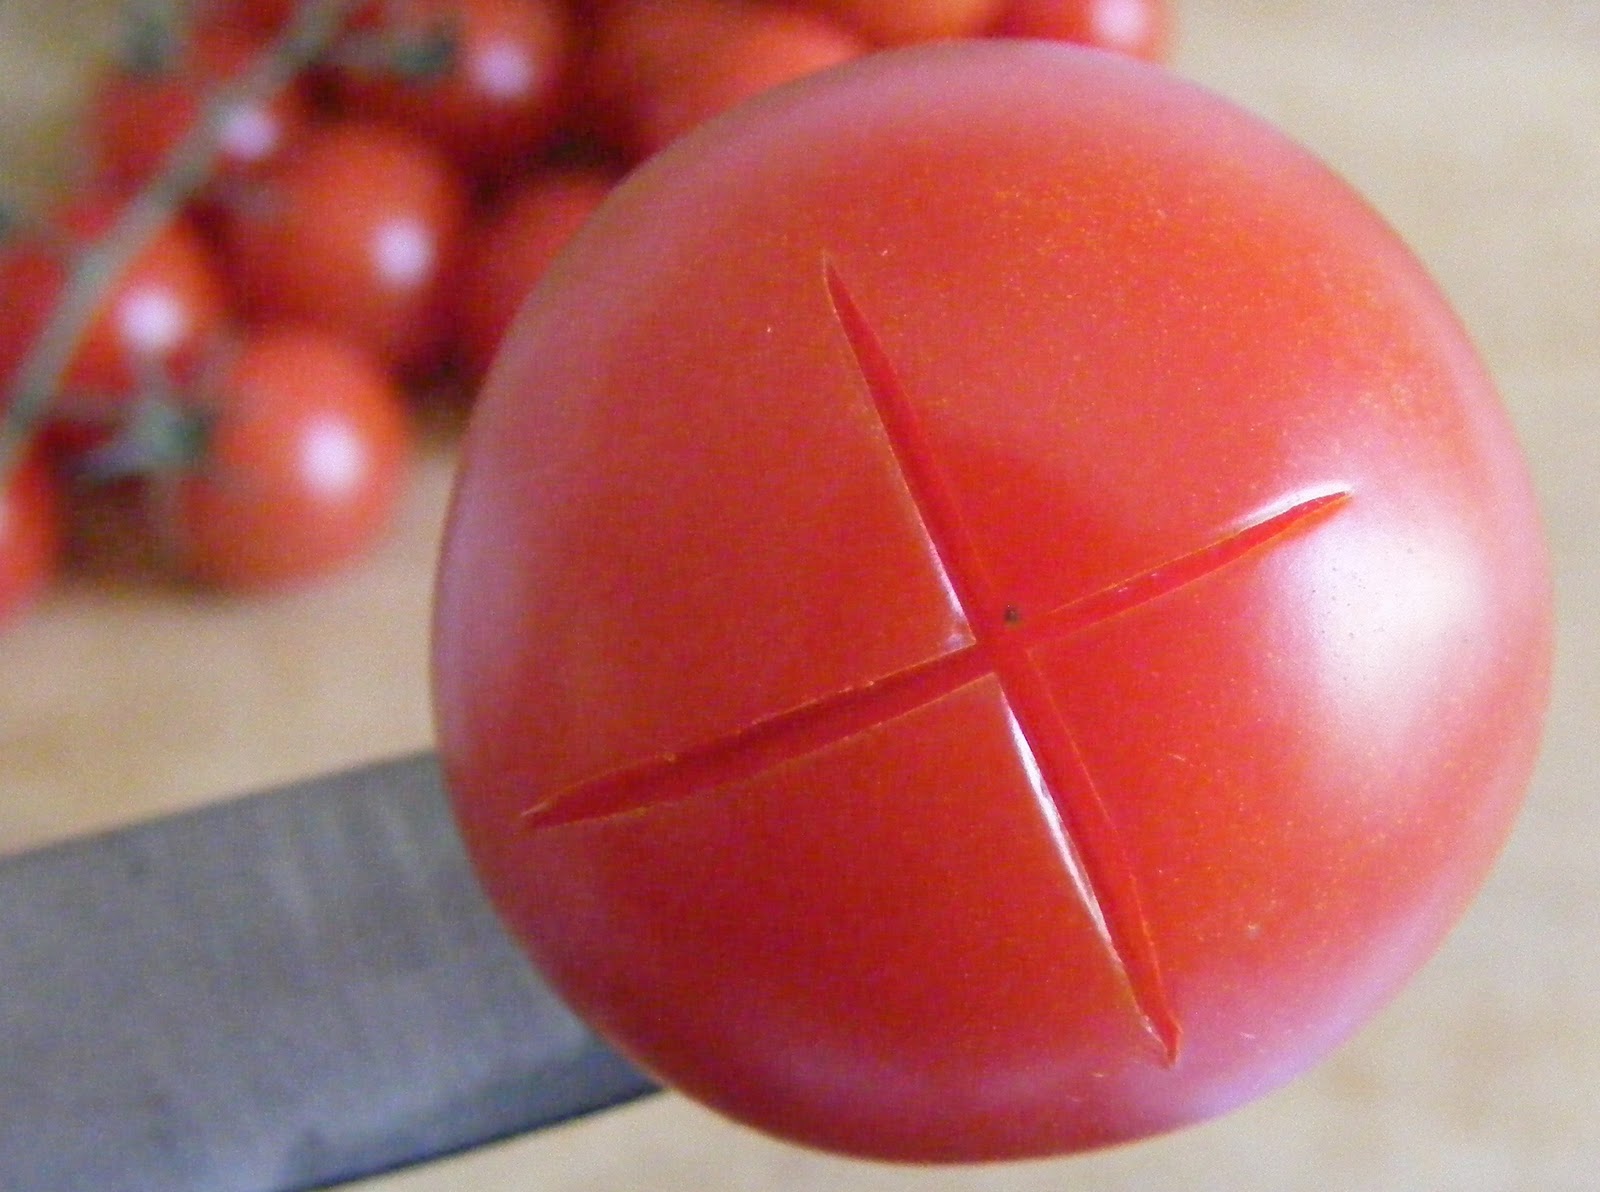
    When I make a tomato based sauce, the first thing I like to do is remove the skins. This is done the same way you would skin a peach, apricot, or plum. Just take a pearing knife and score the top and the bottom of the fruit by making a small "X" through the skin. Once done, drop all of the fruit into a pot of boiling water, and let boil for 30-40 seconds. No longer. You don't want to cook them, just loosen the skin.
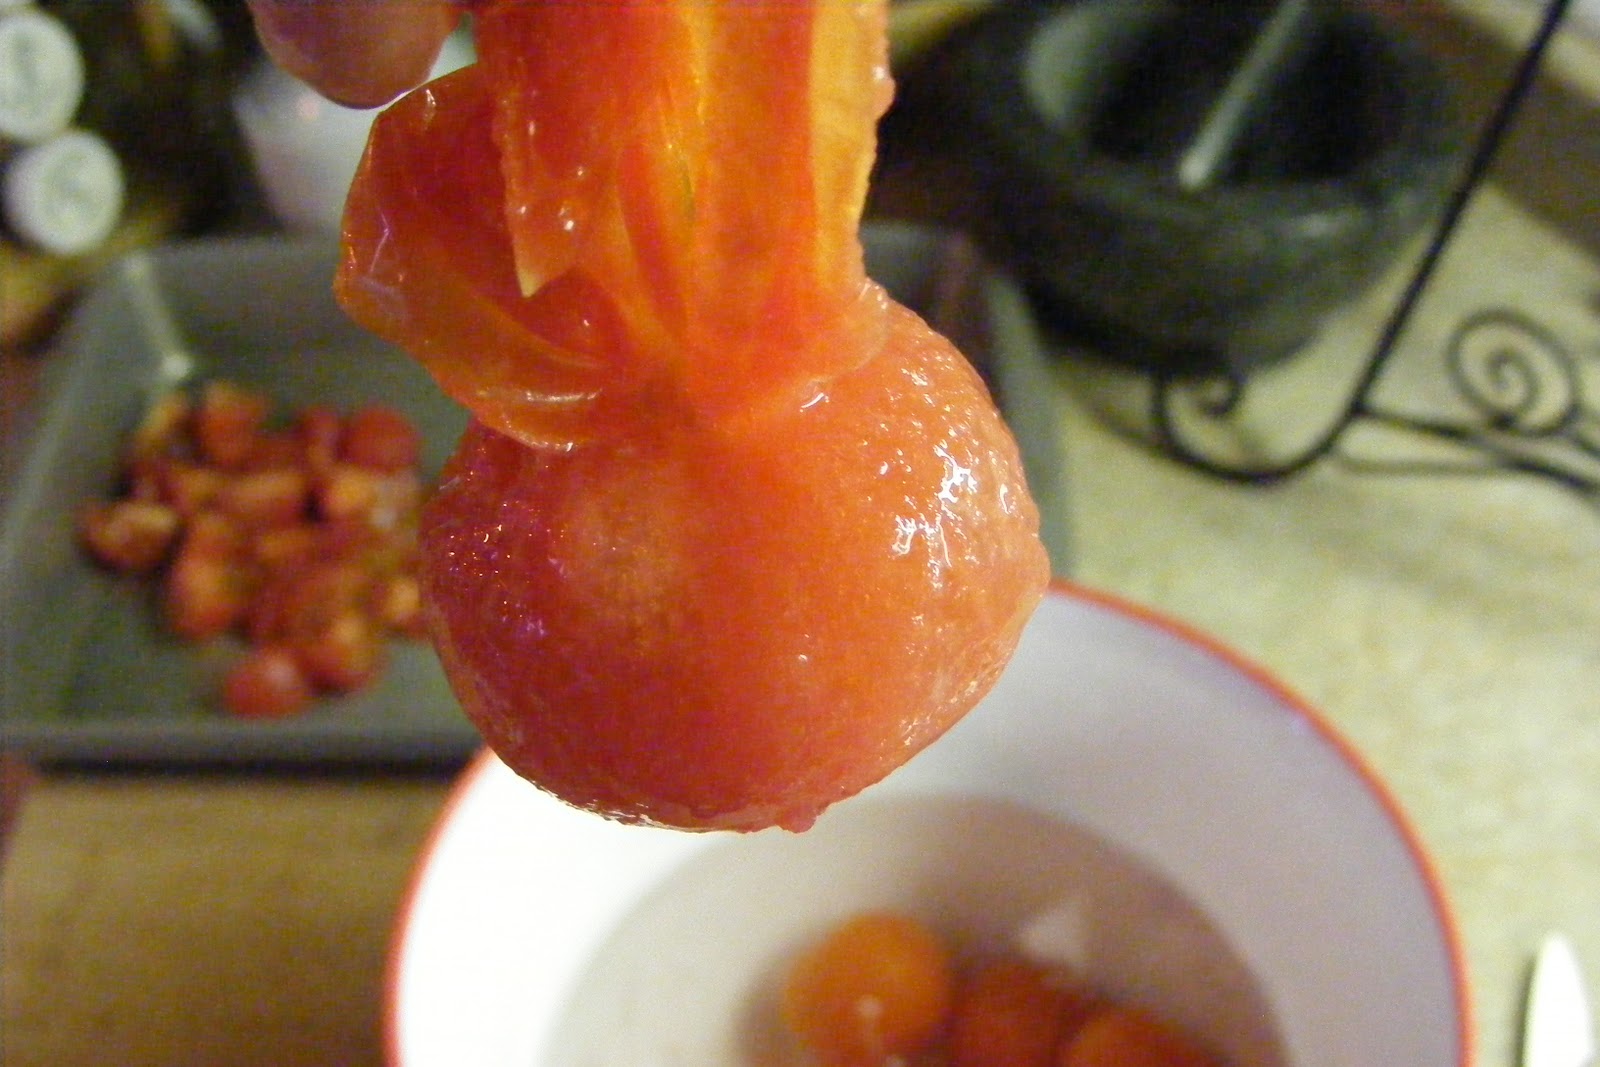
    After the time has passed, immediately remove the fruit from the water and drop them all directly into an ice bath. This will shock them, and instantly stop the cooking. You will notice the skins begin to peel away from the flesh. Just let them sit for a minute or two, and then begin removing them.


Arrivederci


Gently slice through the skin on both
the top and the bottom.


Peel off the skins, cut into quarters
and place in an oven proof pan

    Once all the skins have been removed, cut the tomatoes into quarters and place into an oven proof pan. Pour in enough olive oil to cover all the tomato pieces and create a shine. Season with salt and pepper. Cover the baking dish with aluminum foil and place in an oven that has been preheated to 475*. You need the temperature to be high to "roast" the tomatoes. After the first half hour has passed, add the seasonings. Depending on your taste, and what you have on hand this will change. I used red onion, basil and garlic. These flavors always go well together.
    Give everything a stir to combine, and continue roasting for another 25-30 minutes. Once finished, let cool slightly, and transfer to a food processor to puree. And there it is. Homemade Pizza Sauce. And I didn't have to waste anything. Can't wait to use this.
    Because of the olive oil in this recipe, you cannot safely process this via water bath. If you have a pressure canner (which I am not fortunate to have), that will work nicely. But if not, and you have no need for this right away, freeze it in an air tight container.


Homemade Pizza Sauce


Tomatoes are peeled, quartered, seasoned and
ready for roasting.


After a half hour in the oven, add the
necessary seasonings.


Wednesday, March 23, 2011

Get your sleep and still eat a healthy, hearty breakfast...

    Last night before bed I made breakfast. I pulled out my slow cooker, added a few ingredients, and turned it on. When I woke up this morning, my breakfast was hot and waiting for me.
    A while ago, while watching "Good Eats", a Food Network show, I came across the concept of cooking Steel Cut Oats in the slow cooker. For those of you who aren't sure what steel cut oats are, they are simply whole grain groats (the inner portion of the oat kernel) which have been cut into only two or three pieces by steel rather than being rolled out, like the very popular and commonly used Instant or Rolled Oats. They are golden in color and resemble small pieces.
    Steel-cut oats are also known as coarse-cut oats, pinhead oats, or Irish oats. This form of oat usually takes quite a while to prepare, typically 15–30 minutes to simmer. The flavor of the cooked oats is described as being nuttier than other types of oats, are chewier in texture, but because of their minimal processing, are much healthier for you.
    You can find these in the Natural Foods section of your grocery store, usually in the same aisle as the nuts and all the baking mixes. The package seems quite small for the price, yielding only 3 1/2 cups of the raw oats. But unlike Rolled Oats, these cook up sort of like rice, tripling in size once cooked. They generally cost about $4.99 per bag of Organic oats and $3.50 for the conventional. So they are very affordable.
    When preparing the oats as per the recipe I have listed below, you will get six, 1/2 cup portions.
That's 21 portions per package, at $0.24 per portion. I can't think of any other breakfast meal that offers as big a bang for my buck.
    The Oats, when eaten plain, can taste pretty boring. So I add a few things to brighten up the flavor. The possibilities are endless. Currently I add flax seed and psyllium husks, for added fiber. Some walnuts I had previously candied with maple syrup, and a drizzling of maple syrup over top.
    You could also add such ingredients as dried fruit, fresh fruit, honey, and any type of nut while still maintaining the overall goal, which is to eat a healthful breakfast.
    So here is how I make it:

Slow Cooker Steel Cut Oats
 Adapted from Alton Brown


Slow Cooked Steel Cut Oats
w/ Candied Walnuts
 
Ingredients:

1 cup steel cut oats
4 cups water
1/2 cup milk (I use Rice Milk and it still works out great)
Assorted toppings 

Directions:

(1) In a slow cooker, combine first 3 ingredients  and set to low heat.
(2) Cover and let cook for 8 to 9 hours.
(3) Stir and remove to serving bowls. This method works best if started before you go to bed. This way your oatmeal will be finished by morning.

*    Because of the size of my small family, we can never finish the whole pot. I scoop out 1/2 cup portions into individual containers and use as needed. The cooked oats will keep up to a week in the fridge in a sealed container.
     The consistency will change a little once cooled. I just add a small amount of boiling water and stir to bring the oats back to their original consistency.  Then heat in the microwave and your all set.


Pre-portioned and ready to
go for the rest of the week


This is the specific brand I buy.
"Bob's Red Mill" Organic Old Fashioned
Steel Cut Oats.


Saturday, March 12, 2011

Curry-ously Delicious

    A while ago I found the most delicious looking recipe for a Red Thai Duck Curry on a blog I frequently follow (The Pioneer Woman). I got around to making it for the first time tonight, and it did not disappoint. It had the perfect balance of sweet, salty, sour and spicy  very spicy, that you expect to get from eating Thai food. If you are a fan of curry at all, you must try this.
    The recipe calls for a Red Curry Paste. Coincidentally I had hunted down all the ingredients to make this myself on a recent trip to Montreal. Once I made it, I portioned it out and froze it for later use. It kept well, and I used it in tonight's recipe. You can purchase red curry paste already made in the Asian aisle of your supermarket, but the flavor nuances are lack luster in comparison to the homemade product.
    I had also found some beautiful looking duck breasts on the same trip, and couldn't pass on the opportunity to give them a try as well. This recipe originally suggested "pan frying" the breast until cooked. I decided to sear and reduce the fat on top of the breast until it was nothing but a delicious crust (Draining the fat as needed). I then flipped the breast over and transferred the entire oven proof pan to a preheated oven to finish cooking. I cooked the breast to a moist medium well, and let it rest until I was ready to use it on the curry.
   Typically, Thai style curry dishes are paired with an aromatic rice like Basmati or Jasmine. But in my quest to cut calories from an already calorie ridden dish, I replaced the rice with a cauliflower "rice". It added an unexpected "creamy butteriness", that I really enjoyed. As a lover of all rices, I was thinking I would regret my decision to subsitute. But I did not. This recipe has made my top 10 favorites list. I can't wait for Lunch to eat my leftover's.
 

Red Thai Duck Curry

Red Thai Duck Curry on Cauliflower Rice
Ingredients:

1 whole boneless duck breasts, fat on if desired
2 tbsps. olive oil
3 cloves garlic, minced
3 tbsps. red curry paste (store bought or homemade)
1 14oz can full fat coconut milk
1 cups hot water
2 tbsps. fish sauce
1-2 tbsps. fresh ginger, grated
2 tbsps. olive oil (additional)
½ whole red onion, sliced
1 whole green or red bell pepper, cored and sliced
1 cup grape tomatoes (I omitted these)
2 cups fresh pineapple, cut into chunks
1/4 cup fresh cilantro, chopped (the original recipe used basil)
Jasmine rice cooked (or you can use cauliflower "rice")

Directions:

(1) Preheat oven to 350 degrees F.
(2) Wash and dry duck breast. Score the fat on the breast.


(3) Place in a preheated (oven safe) pan, that has been set over medium high heat, fat side down. Cook for several minutes, draining the fat as needed. You will know the fat is finished searing, when it has become crispy and golden brown in color. (Don’t worry about cooking the duck at this point. You just want to give the skin some great color. You will finish cooking in the oven).
(4) When the duck has rendered it's fat and has reached the desired crispness, drain off the remaining fat. Flip the duck breast so it is fat side up. Transfer to the oven for 8- 10 minutes. (8 minutes for med well, 10 minutes for well done).
(5) Once the duck breast has reached it's desired doneness, remove from the oven and let rest.

Let tht duck breast rest for a
few minutes.

Thinly slice the duck breast.

(6) Now, start creating the curry. In a clean saucepan, heat 1 tbsp. of  olive oil. Go ahead and add the minced garlic to the pan. Add red curry paste to the pan and stir. Cook paste for several minutes to release the flavors.


(7) Pour in the coconut milk, hot water, fish sauce, and minced ginger. Stir and allow to cook over low heat for 10 to 15 minutes while you prepare the other ingredients. Reduce until it reaches a sauce like consistency.

(8) In a second pan, heat the remaining oil over medium high heat. Add sliced onions and bell pepper and cook for a few minutes, until vegetables begin to soften. About 3 to 4 minutes.


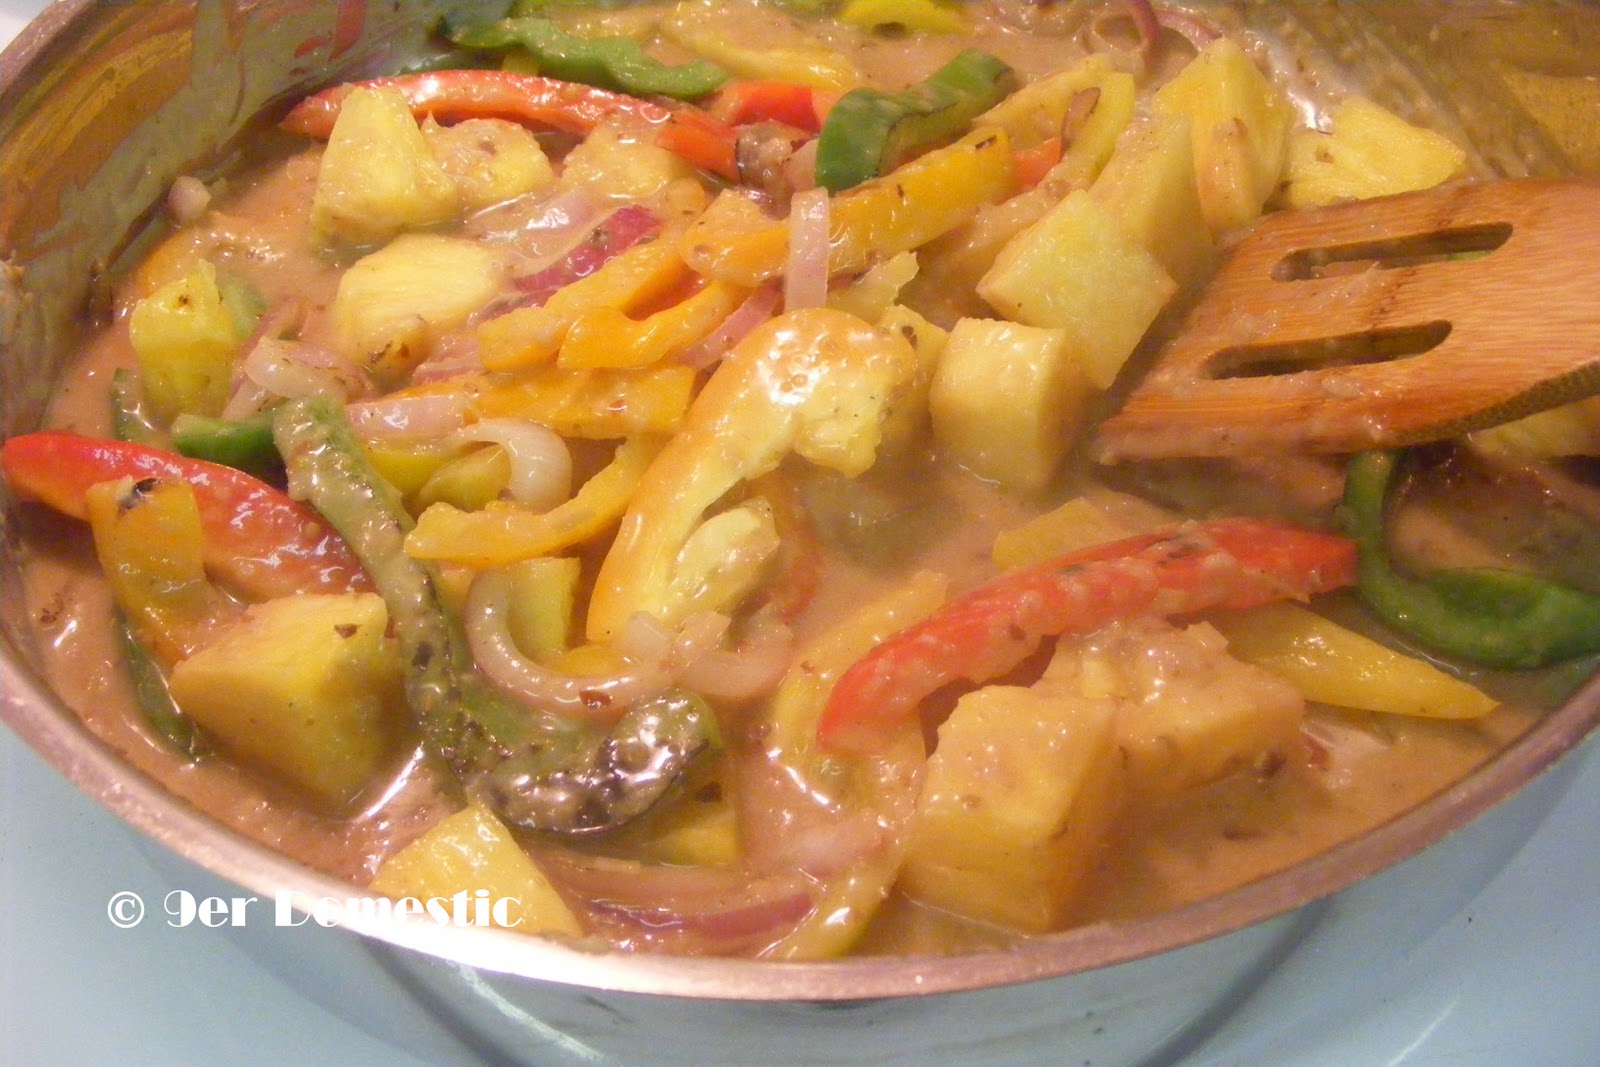
(9) Add pineapple and cherry tomatoes. Stir and cook for 2 minutes.
(10) Taste the curry sauce, which should be thickened by now. Add more spice if needed.

The sauce is thickened when a ribbon
appears after you scrape the bottom of
your pan with a spatula.
(11) Pour vegetables into the curry sauce. Stir to combine. Set heat to medium low, to keep warm. (Add a little hot water if it seems too thick, or allow to bubble longer if it needs more thickening). Remove from heat and allow to sit for 5 minutes.


(12) At the last minute, stir in the chopped cilantro. Serve curry mixture immediately over a hot bed of rice.

*Yields 2 Large Servings

Saturday, March 5, 2011

One Man's Trash is Another Man's Treasure

    I don't know about all of you , but I go through an abundance of chicken stock through the week while preparing my meals. Whether it serves as the base for a pot of soup, making pan sauces, or simply just adding flavor to rice, it is a "must have" in my fridge.
    But I got to thinking. Why buy, what I can make myself for free. Yes that's right, FREE! Let me explain...
   
    We are a boneless, skinless chicken breast family. The price for this particular grocery item just shot through the roof. So I started buying bone-in/skin on, chicken breast for nearly half the price. Seriously. HALF the price. On an ordinary day at Costco you can purchase nine medium sized boneless skinless chicken breasts in a family pack, for anywhere from $27.00 to $30.00. Now, I did the math, and it rounds out to approximately $3.00 per unit. The bone in/skin on breasts that I purchased today were $1.80 per unit, and I got ten breasts instead of nine. Now I don't know about you, but if all I have to do is remove a bone and a bit of chicken skin to save 40% on chicken breast I'll do it.
    Now you have uncooked chicken bone at your disposal. This seems like garbage that you would otherwise throw away. Doesn't it? That is if you had no use for it. But now you do.
    I'm suggesting you toss the uncooked bone on top of a baking sheet and brown them up. That's right, cook the bones.

    I also keep carrot, celery and onion in the fridge as a rule. With these 3 ingredients, you can create anything. But we like to buy organic, and the price of these vegetables is much greater than that of the conventional vegetables. Therefore, I stretch them as far as I can. When I get home from shopping, before putting them away, I pre-wash and put them in appropriate containers, cutting and slicing them for later use.
There is always a huge pile of clipping and peelings now ready for the compost. Unless,  you take these clippings (that have been pre-washed) toss them in the slow cooker along with the cooked chicken bones, and the necessary seasonings, and Voila! 12 hours later you have a free, delicious chicken stock.


    From here, I strain the liquid and discard the rest. Then I either freeze the product in pre-portioned containers, or process them in Mason jars. I prefer to do the Mason jar thing because my chest freezer is usually pretty full.
    Now I realize this sounds like a lot of work to do on grocery day, but if you are pressed for time, you can freeze the uncooked bones and veggie clippings in resealable plastic bags and get to it when you have the time.
    Like I said...free. That's if you weren't planning to use the scraps for anything else...


You may also like:
"Free" Shrimp Stock