I'm one of those people who
needs prefers to have a special place setting for every occasion or type of cuisine that I might be preparing (I can be a bit of a stickler for detail). Now, I
could just hunt down and buy the table cloths, place mats and matching napkins but I much prefer to create them myself. This way I am getting exactly what I want instead of whatever the store happens to have in stock. This is something I am sure I get from my darling Grandmother.
I guess I should start by saying that my Grandmother recently passed away. She was a magnificent woman who made a living as a professional seamstress, crafter, quilter etc...you name it, and she could do it. After her passing, the ladies of the family (myself included), were organizing and sorting through her belongings, more specifically her Craft Room. I came across an unfinished set of
place mats. I'm not sure who she had in mind when she began making them, but I thought it would be nice to finish them for her. I love you Grandma.
Making your own Place mats:
![]() |
| 6 reversible place mats |
Materials:
- 2 contrasting pieces of material of standard width (45") and about 60" long. (I always buy extra for things like napkins and such)
- A piece of batting, the same size as the material (45" x 60")
- thread to match the fabric (Guterman thread is my personal favourite)
- sewing machine
- straight pins
- scissors
- cutting mat
- rotary cutter
- a long ruler with a thick edge
- seam ripper
![]() |
| Materials |
Directions:
(1) Iron the fabric free of creases and wrinkles.
(2) From each piece of material, cut 6 place mat sized pieces. Using a cutting mat, rotary cutter and thick edged ruler, measure the material and cut accordingly. Each piece should be 14 1/2" x 20".
![]() |
12 contrasting pieces of material cut to
14 1/2" x 20"
|
(3) Lay a piece of the pre-cut material on top of the batting and repeat step 2 by cutting the batting to size.
![]() |
You can cut down on time by cutting two pieces at once.
Fold the material and batting so it is overlaps,
and cut. Ensure you start from the edge of the material.
This will prevent any material wastage. |
(3) Once you have all the material cut to size, create an assembly line.
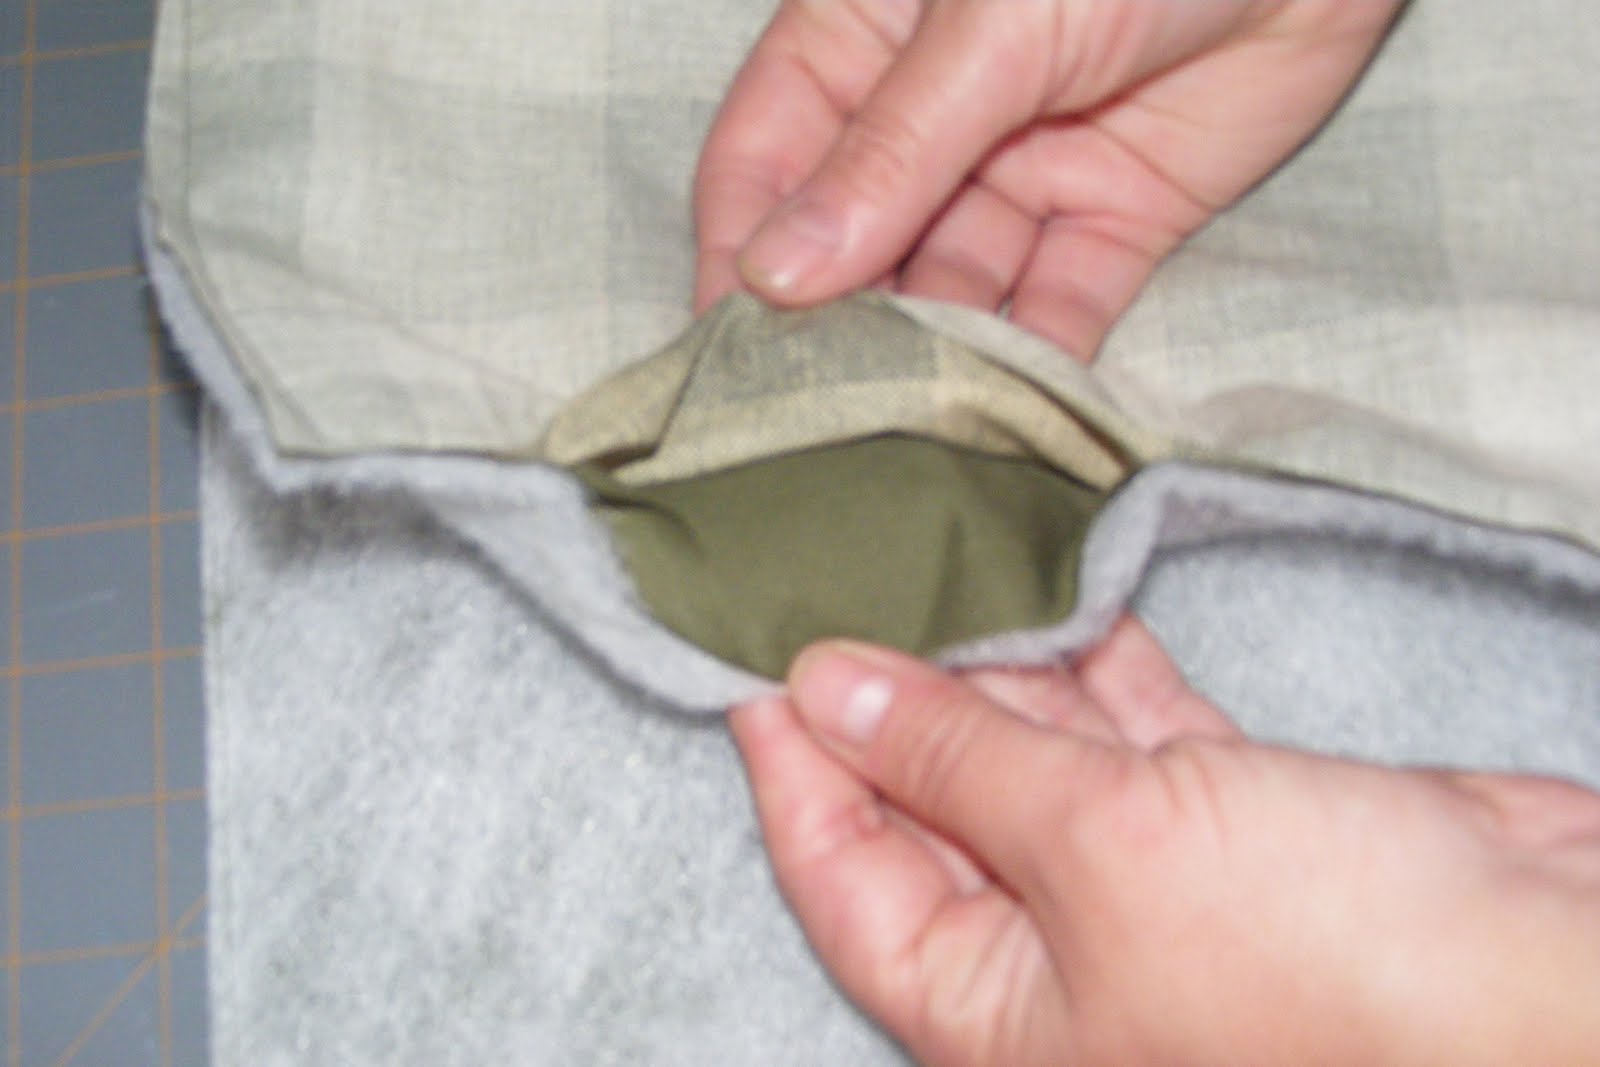
(4) Begin layering the material. The batting must be on the bottom, if you are using a solid color, place that in the middle, and the patterned piece on top. (Please Note: If the patterned piece of material is one sided you must turn it upside down as seen below.)
![]() |
Bottom- Batting,
Middle- Solid,
Top- patterned (turned upside down) |
(5) Begin fastening the material together using the straight pins.
![]() |
Place the straight pins perpendicular to
the fabric.
|
(6) Next it's time to break out the sewing machine. Place the place mat under the foot of the sewing machine. While sewing, guide the edge of the place mat under the foot, and ensure the seams stays
even with the edge of the foot. This will guarantee a straight seem the whole way around the place mat.
(Please Note: Do not sew the entire way around. You must leave an unsewn gap of about 6" to turn the place mat right side in.)
(7) Trim the edges with a rotary cutter.
(8) Turn the place mat right side in.
(9) Iron the edges smooth.
(10) Straighten, and fold under the material in the unsewn space. Pin it together with straight pins.
![]() |
Place the pins perpendicular to the material.
|
(11) Begin hand stitching the opening close. You will find it easier if you begin sewing from right to left. Remove the pins as you sew. (Sewing from left to right, will cause the thread to tangle around the straight pins.)
![]() |
While hand stitching, stay as close to the
edge as possible. |
(12) Begin creating the edging around the place mats using your sewing machine. Place them one by one, under the foot of the sewing machine so the edge of the placemats are aligned with the edge of the foot. Sew the entire way around each of them.
(13) Once finished, create another seam in the middle, parallel to the first seam.
(14) And there you have it. Six reversible placemats.